Need to Let Users Upload a File to Phaser Game

I'm a developer advocate and a backend developer, and my frontend evolution expertise is relatively weak. A while ago I wanted to have some fun and make a game in a browser; I chose Phaser three equally a framework (it looks quite popular these days) and TypeScript every bit a language (because I adopt static typing over dynamic). It turned out that y'all demand to do some boring stuff to make it all piece of work, and so I wrote this tutorial to help the other people like me get started faster.
Preparing the environment
IDE
Choose your development surround. Y'all can e'er use plain old Notepad if you wish, simply I would suggest using something more helpful. Every bit for me, I prefer developing pet projects in Emacs, therefore I take installed tide and followed the instructions to set up it up.
Node
If we were developing on JavaScript, we would exist perfectly fine to commencement coding without all these preparation steps. Nonetheless, as nosotros desire to utilise TypeScript, we have to gear up the infrastructure to make the hereafter development every bit fast as possible. Thus we need to install node and npm.
Every bit I write this tutorial, I use node x.13.0 and npm 6.4.ane. Please note that the versions in the frontend world update extremely fast, so yous simply take the latest stable versions. I strongly recommend using nvm instead of installing node and npm manually; information technology volition save you a lot of time and nerves.
Setting upwardly the project
Project construction
We will employ npm for building the project, so to outset the projection get to an empty binder and run npm init. npm volition ask yous several questions near your project backdrop and and so create a package.json file. It will await something like this:
{ "proper name": "Starfall", "version": "0.1.0", "description": "Starfall game (Phaser 3 + TypeScript)", "principal": "index.js", "scripts": { "examination": "echo \"Error: no test specified\" && leave i" }, "author": "Mariya Davydova", "license": "MIT" } Packages
Install the packages we need with the post-obit command:
npm install -D typescript webpack webpack-cli ts-loader phaser alive-server
-D option (a.k.a. --save-dev) makes npm add these packages to the list of dependencies in package.json automatically:
"devDependencies": { "live-server": "^1.ii.i", "phaser": "^3.xv.1", "ts-loader": "^5.3.0", "typescript": "^3.1.6", "webpack": "^4.26.0", "webpack-cli": "^3.one.ii" } Webpack
Webpack volition run the TypeScript compiler and collect the bunch of resulting JS files as well as libraries into one minified JS so that we can include information technology in our folio.
Add webpack.config.js most your projection.json:
const path = crave('path'); module.exports = { entry: './src/app.ts', module: { rules: [ { examination: /\.tsx?$/, use: 'ts-loader', exclude: /node_modules/ } ] }, resolve: { extensions: [ '.ts', '.tsx', '.js' ] }, output: { filename: 'app.js', path: path.resolve(__dirname, 'dist') }, mode: 'development' }; Here nosotros see that webpack has to get the sources starting from src/app.ts(which we'll add very soon) and collect everything in dist/app.js file.
TypeScript
Nosotros besides need a small configuration file for the TypeScript compiler (tsconfig.json) where we explain which JS version nosotros desire the sources to be compiled to and where to find those sources:
{ "compilerOptions": { "target": "es5" }, "include": [ "src/*" ] } TypeScript definitions
TypeScript is a statically typed language. Therefore, it requires blazon definitions for the compilation. At the time of writing this tutorial, the definitions for Phaser 3 were non yet bachelor as the npm package, so you may need to download them from the official repository and put the file in the src subdirectory of your projection.
Scripts
We have almost finished the project gear up upwards. At this moment you should have created package.json, webpack.config.js, and tsconfig.json, and added src/phaser.d.ts. The last thing nosotros need to exercise before starting to write lawmaking is to explain what exactly npm has to do with the projection. We update the scripts section of the package.json as follows:
"scripts": { "build": "webpack", "start": "webpack --spotter & alive-server --port=8085" } When you execute npm build, the app.js file volition be built according to the webpack configuration. And when you run npm start, you won't have to bother about the build process: as soon as you lot save any source, webpack volition rebuild the app and the live-server volition reload it in your default browser. The app will exist hosted at http://127.0.0.1:8085/.
Getting started
Now that nosotros take set upward the infrastructure (the part I personally hate when starting a projection), we can finally start coding. In this step we'll do a straightforward matter: draw a dark bluish rectangle in our browser window. Using a big game development framework for this is a fiddling bit of… hmmm… overkill. Even so, we'll need it on the side by side steps.
Let me briefly explain the principal concepts of Phaser 3. The game is an instance of the Phaser.Game class (or its descendant). Each game contains 1 or more instances of Phaser.Scene descendants. Each scene contains several objects, either static or dynamic, and represents a logical part of the game. For example, our petty game will have three scenes: the welcome screen, the game itself, and the score screen.
Permit's commencement coding.
First, create a minimalistic HTML container for the game. Make an alphabetize.html file, which contains the following code:
<!DOCTYPE html> <html> <head> <title>Starfall</title> <script src="dist/app.js"></script> </head> <trunk> <div id="game"></div> </body> </html> There are only two essential parts here: the start one is a script entry which says that we are going to use our built file here, and the second one is a div entry which will be the game container.
Now create a file src/app.ts with the post-obit code:
import "phaser"; const config: GameConfig = { championship: "Starfall", width: 800, summit: 600, parent: "game" backgroundColor: "#18216D" }; export class StarfallGame extends Phaser.Game { constructor(config: GameConfig) { super(config); } } window.onload = () => { var game = new StarfallGame(config); }; This code is self-explanatory. GameConfig has a lot of diverse backdrop, you lot can bank check them out here .
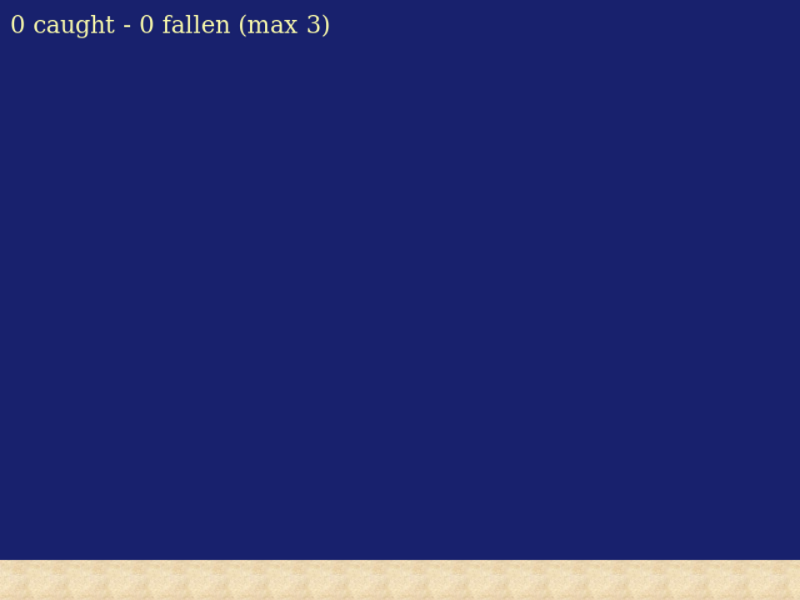
And now you can finally run npm start. If everything was done correctly on this and previous steps, you lot should see something every bit simple as this in your browser:

Making the stars fall
We have created an uncomplicated application. Now it's time to add a scene where something will happen. Our game will be simple: the stars will autumn to the basis, and the goal will be to catch as many as possible.
To achieve this goal create a new file, gameScene.ts, and add together the following lawmaking:
import "phaser"; export class GameScene extends Phaser.Scene { constructor() { super({ key: "GameScene" }); } init(params): void { // TODO } preload(): void { // TODO } create(): void { // TODO } update(fourth dimension): void { // TODO } }; Constructor hither contains a key under which other scenes may phone call this scene.
You see here stubs for four methods. Let me briefly explain the deviation between so:
-
init([params])is called when the scene starts; this function may accept parameters, which are passed from other scenes or game by callingscene.beginning(key, [params]) -
preload()is called before the scene objects are created, and it contains loading assets; these assets are cached, and then when the scene is restarted, they are not reloaded -
create()is called when the assets are loaded and usually contains creation of the main game objects (background, player, obstacles, enemies, etc.) -
update([time])is called every tick and contains the dynamic role of the scene — everything that moves, flashes, etc.
To exist sure that nosotros don't forget it afterward, let's quickly add together the following lines in the game.ts:
import "phaser"; import { GameScene } from "./gameScene"; const config: GameConfig = { championship: "Starfall", width: 800, top: 600, parent: "game", scene: [GameScene], physics: { default: "arcade", arcade: { debug: simulated } }, backgroundColor: "#000033" }; ... Our game now knows most the game scene. If the game config contains a listing of scenes then the first one is started when the game is begun, and all others are created but not started until explicitly chosen.
We have also added arcade physics here. It is required to brand our stars fall.
At present nosotros tin put flesh on the bones of our game scene.
First, nosotros declare some properties and objects we're gonna need:
consign course GameScene extends Phaser.Scene { delta: number; lastStarTime: number; starsCaught: number; starsFallen: number; sand: Phaser.Physics.Arcade.StaticGroup; info: Phaser.GameObjects.Text; ... Then, nosotros initialize numbers:
init(/*params: any*/): void { this.delta = 1000; this.lastStarTime = 0; this.starsCaught = 0; this.starsFallen = 0; } At present, we load a couple of images:
preload(): void { this.load.setBaseURL( "https://raw.githubusercontent.com/mariyadavydova/" + "starfall-phaser3-typescript/master/"); this.load.image("star", "avails/star.png"); this.load.image("sand", "assets/sand.jpg"); } After that, we tin ready our static components. We will create the basis, where the stars volition fall, and the text informing u.s.a. about the current score:
create(): void { this.sand = this.physics.add.staticGroup({ primal: 'sand', frameQuantity: 20 }); Phaser.Actions.PlaceOnLine(this.sand.getChildren(), new Phaser.Geom.Line(20, 580, 820, 580)); this.sand.refresh(); this.info = this.add.text(x, 10, '', { font: '24px Arial Bold', fill: '#FBFBAC' }); } A group in Phaser 3 is a way to create a bunch of the objects yous want to control together. At that place two types of objects: static and dynamic. As y'all may guess, static objects don't move (basis, walls, various obstacles), while dynamic ones practice the task (Mario, ships, missiles).
Nosotros create a static group of the ground pieces. Those pieces are placed along the line. Please annotation that the line is divided into xx equal sections (not xix as yous've may take expected), and the ground tiles are placed on each section at the left end with the tile center located at that point (I hope this explains those numbers). Nosotros as well have to call refresh() to update the group bounding box (otherwise, the collisions will exist checked against the default location, which is the meridian left corner of the scene).
If you check out your application in the browser at present, y'all should meet something like this:
We take finally reached the about dynamic part of this scene — update() function, where the stars fall. This function is chosen somewhere effectually in one case in 60 ms. We want to emit a new falling star every second. We won't use a dynamic group for this, as the lifecycle of each star will exist brusque: it volition be destroyed either by user click or by colliding with the ground. Therefore inside the emitStar() function we create a new star and add together the processing of two events: onClick() and onCollision().
update(time: number): void { var unequal: number = time - this.lastStarTime; if (unequal > this.delta) { this.lastStarTime = fourth dimension; if (this.delta > 500) { this.delta -= xx; } this.emitStar(); } this.info.text = this.starsCaught + " defenseless - " + this.starsFallen + " fallen (max 3)"; } private onClick(star: Phaser.Physics.Arcade.Image): () => void { render function () { star.setTint(0x00ff00); star.setVelocity(0, 0); this.starsCaught += 1; this.time.delayedCall(100, office (star) { star.destroy(); }, [star], this); } } individual onFall(star: Phaser.Physics.Arcade.Prototype): () => void { return function () { star.setTint(0xff0000); this.starsFallen += ane; this.time.delayedCall(100, office (star) { star.destroy(); }, [star], this); } } individual emitStar(): void { var star: Phaser.Physics.Arcade.Prototype; var x = Phaser.Math.Betwixt(25, 775); var y = 26; star = this.physics.add.image(10, y, "star"); star.setDisplaySize(50, fifty); star.setVelocity(0, 200); star.setInteractive(); star.on('pointerdown', this.onClick(star), this); this.physics.add.collider(star, this.sand, this.onFall(star), null, this); } Finally, nosotros have a game! It doesn't have a win status yet. We'll add together it in the last role of our tutorial.
Wrapping it all up
Usually, a game consists of several scenes. Even if the gameplay is uncomplicated, you lot need an opening scene (containing at the very to the lowest degree the 'Play!' push button) and a closing i (showing the outcome of your game session, similar the score or the maximum level reached). Allow's add these scenes to our application.
In our case, they will be pretty like, as I don't want to pay too much attention to the graphic design of the game. Subsequently all, this a programming tutorial.
The welcome scene will take the post-obit code in welcomeScene.ts. Note that when a user clicks somewhere on this scene, a game scene will announced.
import "phaser"; export course WelcomeScene extends Phaser.Scene { championship: Phaser.GameObjects.Text; hint: Phaser.GameObjects.Text; constructor() { super({ central: "WelcomeScene" }); } create(): void { var titleText: string = "Starfall"; this.title = this.add.text(150, 200, titleText, { font: '128px Arial Bold', fill: '#FBFBAC' }); var hintText: string = "Click to offset"; this.hint = this.add together.text(300, 350, hintText, { font: '24px Arial Bold', make full: '#FBFBAC' }); this.input.on('pointerdown', role (/*pointer*/) { this.scene.start("GameScene"); }, this); } }; The score scene will await about the aforementioned, leading to the welcome scene on click (scoreScene.ts).
import "phaser"; export grade ScoreScene extends Phaser.Scene { score: number; outcome: Phaser.GameObjects.Text; hint: Phaser.GameObjects.Text; constructor() { super({ key: "ScoreScene" }); } init(params: whatever): void { this.score = params.starsCaught; } create(): void { var resultText: string = 'Your score is ' + this.score + '!'; this.result = this.add.text(200, 250, resultText, { font: '48px Arial Bold', fill: '#FBFBAC' }); var hintText: string = "Click to restart"; this.hint = this.add.text(300, 350, hintText, { font: '24px Arial Assuming', make full: '#FBFBAC' }); this.input.on('pointerdown', part (/*pointer*/) { this.scene.commencement("WelcomeScene"); }, this); } }; We demand to update our principal application file now: add these scenes and make the WelcomeScene to exist the first in the listing:
import "phaser"; import { WelcomeScene } from "./welcomeScene"; import { GameScene } from "./gameScene"; import { ScoreScene } from "./scoreScene"; const config: GameConfig = { ... scene: [WelcomeScene, GameScene, ScoreScene], ... Have you noticed what is missing? Correct, we practise not call the ScoreScene from anywhere yet! Let'due south call it when the player has missed the tertiary star:
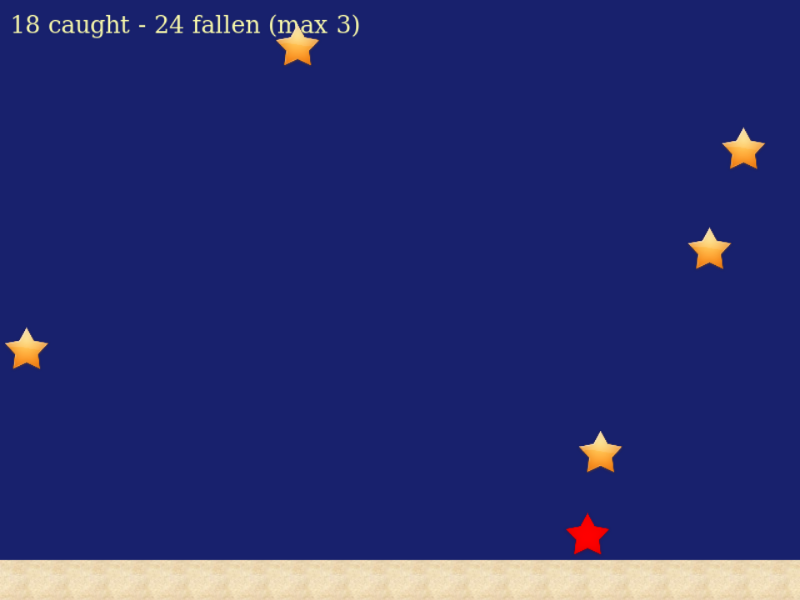
private onFall(star: Phaser.Physics.Arcade.Image): () => void { return function () { star.setTint(0xff0000); this.starsFallen += one; this.time.delayedCall(100, function (star) { star.destroy(); if (this.starsFallen > 2) { this.scene.first("ScoreScene", { starsCaught: this.starsCaught }); } }, [star], this); } } Finally, our Starfall game looks like a existent game — it starts, ends, and even has a goal to archive (how many stars can you catch?).
I promise this tutorial is as useful for you as it was for me when I wrote it :) Whatever feedback is highly appreciated!
The source lawmaking for this tutorial may exist found here.
Learn to code for free. freeCodeCamp'due south open up source curriculum has helped more than 40,000 people get jobs every bit developers. Get started
Source: https://www.freecodecamp.org/news/how-to-build-a-simple-game-in-the-browser-with-phaser-3-and-typescript-bdc94719135/
Post a Comment for "Need to Let Users Upload a File to Phaser Game"